Many upgrades available… for a reasonable price
If you’ve not heard of Voxelab, well, the company is a sub-brand to FlashForge, one of the larger 3D printer manufacturers out there. Last year, we went hands-on with the company’s S2 3D printer, and now, we’re taking a look at the refreshed D1. Delivering a lot of upgrades over the previous generation, the D1 is basically everything we want in a 3D printer… though the price might be a bit more than we’d like. Voxelab’s D1 has an auto bed-leveling and filament runout sensor. We have all the details in our hands-on review.
Voxelab Aquila 3D Printer D1: Hands-on Review
Let’s get some initial specs out of the way to start off with. The D1 is not a direct upgrade of the S2 (the S3 was reviewed last year), but Voxelab has redesigned the lineup and it seems to take a lot from the community’s input over the years and put it in one printer.
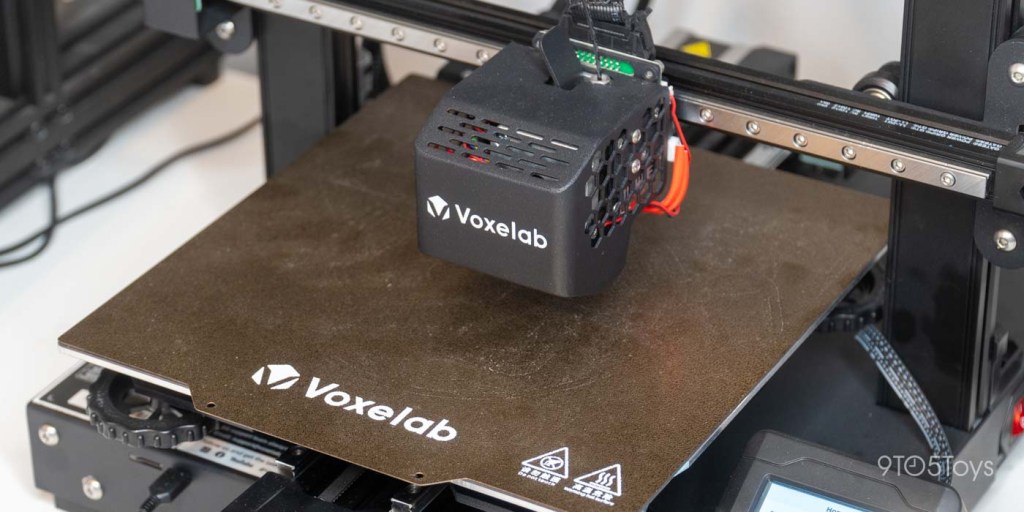
The Aquila D1 delivers a larger print area of 235×235, whereas the S2 (and many others) is limited to 220×220. Even though 15mm is not a common size, LotsThat little extra space could make the difference between scaling down or not. You’ll also find an upgraded linear rail motion system on the X and Y axis, with the Z being treated to a new dual screw system (though still only one stepper motor.) You will also find auto bed leveling, filament detection and open-source software. Voxelab also dropped the proprietary S2 nozzle in favor of an industry-standard alternative that can be easily found at very affordable prices. And, the D1 can still reach 300C on its direct-drive hotend, though that’s also been upgraded with a newer, more powerful stepper motor with 180% more wire-feeding force than previous models. And, lastly, I love that Voxelab includes a pair of cutters in the box of the Aquila D1, which is something that I’m always misplacing as I only have one pair I purchased years ago that I also use for electrical work, so now having a dedicated set for the 3D printer space is great.
With all that out of the way, let’s talk about what we like – and what we don’t like – with the Aquila D1 from Voxelab. First, let’s talk about what we love. Having used the Aquila S2 for the past year, I’ve done a few upgrades to it, and there are still some that I’d like to do. The Aquila S2 has all these upgrades already in the box.
The assembly was simple and much easier than the S2 in my opinion. It took only 15 minutes to put the printer together and I was printing within minutes. Many of the parts were already assembled. This was a major upgrade over previous-generation models. It was also very well received, especially given the higher price for the Aquila d1.
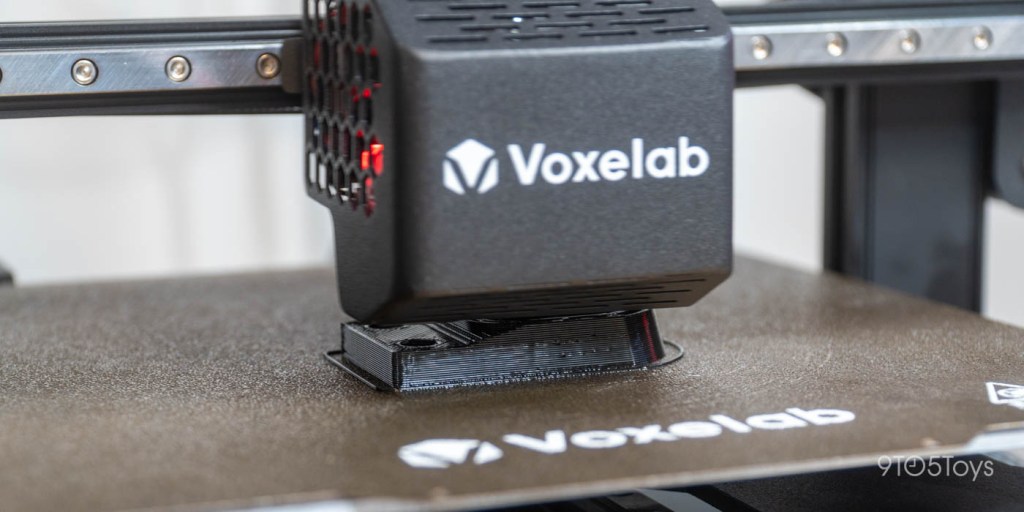
After completing the initial setup, it was now time to level the mattress. With the auto bed-leveling system and the auto bed-level button in the software, I thought it’d be fairly straightforward. It was easy, but it took a lot of research and understanding. The nozzle will be about 3mm above the bed once you have levelled it. That has to be then adjusted in the Z offset menu, and once you do that, there’s still more work to be done. You will need to adjust the Z offset setting and place your nozzle.2mm higher than the bed. (I used two feeler gauges, but you could use paper). Next, you’ll need to turn off the steppers. Then move the nozzle around the edges and center of each bed. Doing this, you’ll use the manual leveling knobs under the bed to set the bed’s height relative to the nozzle. After all of this is done, rerun the auto bed-leveling procedure one more time, reset the Z offset, and you’ll be good to go. While it took me awhile to understand all this, once I had it set up, the printer prints flawlessly across almost the entire surface of the bed.
Voxelab’s move from a proprietary nozzle is something I love. In addition to two.6mm-sized nozzles, they include two.4mm ones in the box. One of these nozzles was preinstalled. After changing to a S2 nozzle with a.6mm diameter, I was able to change to the D1’s.6mm size right away from the box. While a.6mm print is still excellent, it can be used for more functional purposes than decorative. You can save time and filament by using a larger nozzle with higher layers.
OctoPrint was something that I had a lot of trouble with on the S2: getting it set up. Now, if you’ve never run OctoPrint, it’ll change your 3D printing experience for the better. OctoPrint was not compatible with the S2 and required custom firmware flashing. The D1 is compatible with the open-source controller software. OctoPrint lets me wirelessly send a job to my 3D printer from my MacBook. It also runs Octolapse software (which is what made the time-lapse videos of these prints). OctoPrint can even do a lot more filament tracking and calculations. It’s how I know how much filament I have left on a roll, how I do remote monitoring of my prints, and just generally how I run my printer. Voxelab now has the ability to use Octoprint straight out of the box, thanks to the Aquila.

However, while there’s OctoPrint support natively, Voxelab doesn’t have all functions enabled. There’s a part of the firmware (that’s easy to change for Voxelab) that doesn’t let OctoPrint communicate the status back to the printer. This means that the Aquila D1 doesn’t show the print progress on the display, nor does it relay the filament runout sensor to OctoPrint. Voxelab would find it relatively simple to fix and the community can simply patch it due to the open-source nature this printer.
Now, for the things that we aren’t as big of a fan of. The most important is the auto-bed-leveling system. I’d like to have seen it be a bit more automatic and not require me to basically do manual bed leveling on top of the auto bed leveling. It’s nice to have for sure, and it works better than not having it at all, but for $400I expected something simpler to use and more hands-off. A second problem is the absence of Full OctoPrint support. It’s nice to have OctoPrint support, but I wish I didn’t have to modify the firmware to get full communication between the printer and OctoPrint. The final thing is the price. This 3D printer costs $400. The Bambu Labs’ P1P is available for $699, $300 more than the Aquila D1 but more geared towards production and hobby. At $400, you’re nearly double the price of the Ender 3 Pro and only $50 below the Ender 3 S1 Pro. Yes, the Ender 3 S1 Pro still has a 220×220 bed, but it has auto bed leveling, a similar extruder, and features all around that make it nearly identical to the D1, just from Creality.

9to5Toys’ Take
At $400The Voxelab D1 3D printer is solid, there’s no doubt about that. But, the few drawbacks that we’ve mentioned do knock a few points off our final review score. If I had to give it a score, I’d say that the Aquila D1 comes in at 4/5. Voxelab can easily bring it up to 4.5/5 by improving the auto bed leveling. They should also try to get the factory-supplied Z offset set as well as full OctoPrint support. The Voxelab AquilaD1 is a great printer for your farm. It works well once it is set up.
The Aquila D1 is a great choice for anyone looking to buy a 3D printer. While I agree with the Aquila, the AquilaS3 is a better purchase for many. It is almost identical to the D1 in functionality, but has more. $100 less. You lose out on the linear rails and filament runout sensor, but if those aren’t must-haves; it still delivers a 300C nozzle and auto bed leveling – though the S3 is still limited to a 220×220 bed, unlike the 235×235 that the D1 has.
Overall, the Voxelab Aquila D1 is a great 3D printer, and I don’t think you can go wrong with picking it up. If you don’t plan to use OctoPrint and are good at doing an initial bed level, then you’ll have zero issues at all with it, and it’ll serve you great for years to come, I’m sure. The Aquila D1 might not be the best choice if you want OctoPrint to support filament runout.
Subscribe to 9to5Toys YouTube Channel to see the most recent videos and reviews.
